In MLB The Show 23, you can soon notice a ton of options for how your player looks and acts, with your hitting stance being one of the most crucial. The greatest hitting stance in MLB The Show 23 is essential if you want to hit those elusive home runs in career mode. On the Road to the Show Career Mode, where players must acquire enough MLB The Show 23 Stubs in the game, this guide will highlight some of the greatest hitting positions you may use.
The best batting positions from MLB The Show 23
Mike Trout
One of the best baseball players in recent memory is Mike Trout. The retiring athlete also made a magnificent cameo in Diamond Dynasty with a 99 OVR card. Also, in career mode, you can adopt his own batting stance. On page 48, under “Animation Categories,” you may find it. Getting your bearings can actually increase your chances of making the major leagues, if you haven’t already.
Legend Stance 7 (Barry Bond)
One of the best hitting stances in the game is unquestionably Legend Stance 7. This stance can be found on page 40 under the general player category. Barry Bonds and this position are strikingly similar. He was one of the best baseball players ever and had a talent for consistently hitting home runs.
Chen Jiexian
The last position on the list and one of the scariest is Chen Jiexian’s batting stance. Simply select the “Current Player” category in Road to The Show to select this side. then turn to page 10. YouTuber Mighty Goat discovered this batting stance.
How about a custom batting stance?
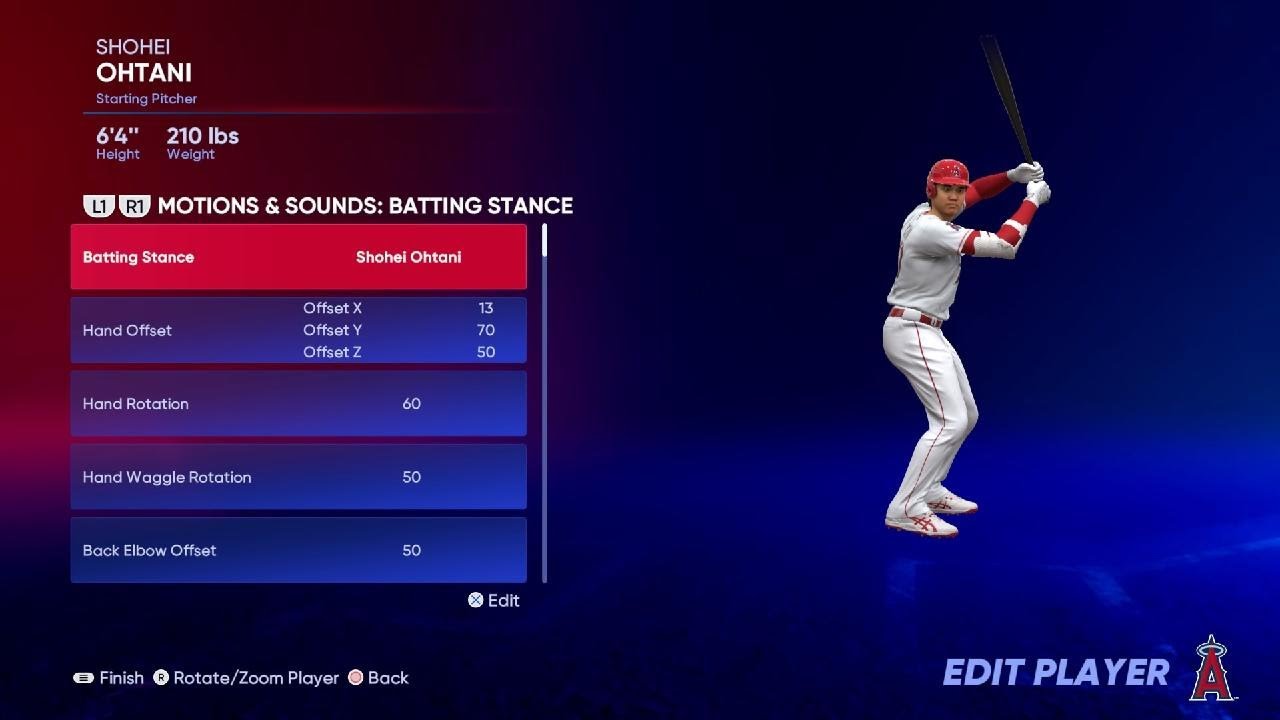
You have more control over almost all of your postures when you use custom poses, from hip and foot location to reach and animation style. These are entirely optional, though. With the game’s pre-set positions, you can become famous and surpass your rivals, and some fans even contend that the variations in custom poses are so slight that it’s not worth the time to create them.
Without any problems, we stuck to the pre-built positions, primarily Trout and Dagu. Play around with the modification choices and see what you think if you have a particularly challenging pitcher and don’t think the existing positioning will work.
Players can completely modify their batting stance in MLB The Show 23 down to the elbow and hip positions. This implies that there are many highs and lows, swings that are strong inside or outside of home plate. The optimum batting posture can be adjusted if players MLB The Show 23 Gold have adequate time to practice before the game.