Players will need to locate stamina upgrades throughout the game to assist Tchia in getting where she needs to go because stamina is essential to being accepted into Tchia. Players in Tchia must control their stamina meter in order to perform practically any action. Fortunately, there is a way to raise this so that the player isn’t plagued by the about 20 seconds of stamina she has at the beginning of the game. For more information, see this guide, where players can acquire enough Tchia Account.
How to Increase Tchia’s Stamina
When you engage in intense exercise in Tchia, a green lightning meter that represents your stamina will show. This involves swimming and gliding underwater, but it also depletes after being injured. Your health and stamina are obviously working in tandem; if any of them is entirely drained and you continue to exert yourself, you will faint and resurrect at the last campfire or dock you interacted with.
You only have 20 stamina when you first start the game, and it quickly runs out, making it challenging to navigate at high altitudes or in deep water. Fresh fruit is one way to increase your energy, though.
Find stamina fruit
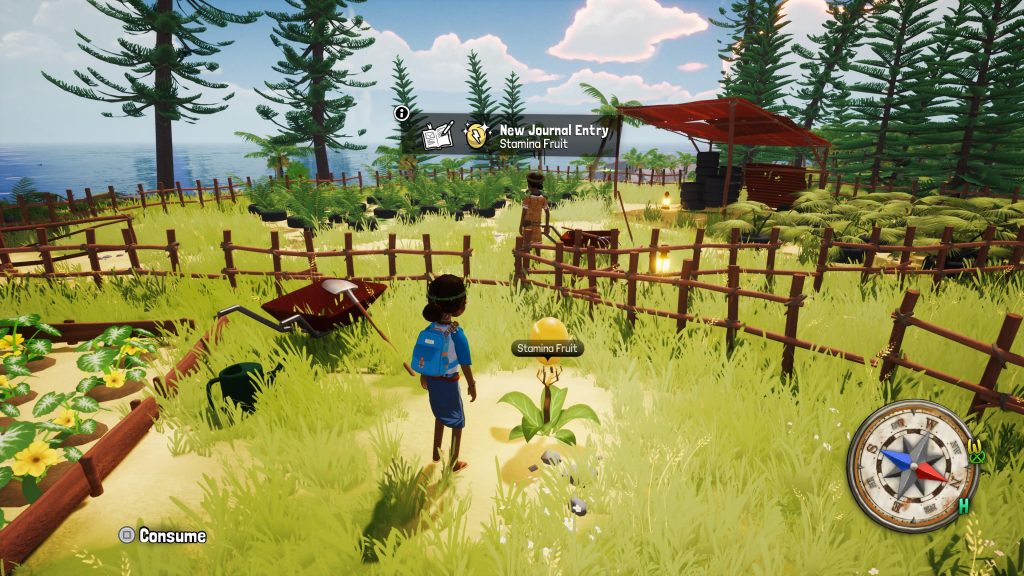
Players must locate and consume stamina fruit in order to increase Tchia’s stamina. Tchia can harvest and consume these unique magical fruits that she can find all over the island to increase her stamina meter. Players will probably find some Stamina Fruits in most of the locations they visit throughout the game because the map indicates that there are 58 Stamina Fruits to be found. They tend to stick out from their surroundings and have the appearance of shining enormous mangoes, making them simple to identify.
Stamina Fruits, which provide Tchia’s stamina meter 1 point, and rarer big Stamina Fruits, which give 3 points, can be found by players. As a result, each Stamina Fruit is only a modest improvement, and players might not notice a difference when talking to Drehu locals in the Tchia region. But ultimately, it all comes together.
Exploration is the key to finding stamina fruits. A good tactic is to look for any natural landmarks, such as the heart-shaped marsh on Ija Nöj that Hnora created, which Tchia came upon while traveling. Peninsulas, solitary islands, and mountaintops are all excellent starting points for your search. Stamina fruit may also be found in some town and village centers.
Points of view should be used by players, as demonstrated by Tchia’s father in the game’s opening scene. Tchia has a shout ability that makes all adjacent valuables, including Stamina Fruit, visible from Points of View. Straight forward travel to any surrounding perspective is a terrific technique to discover stamina fruits around, making collection much simpler.
Players should look for Stamina Fruit to aid the game’s courageous young protagonist on his journeys since it is a nice homage to Tchia, the game’s original inspiration. Keep in mind that each stamina fruit only increases your stamina by one point, so you’ll need to find some before you can use the item effectively. The game offers enough Tchia Account for players to purchase.